How to Apply Kinesiology Tape Without Touching the Adhesive
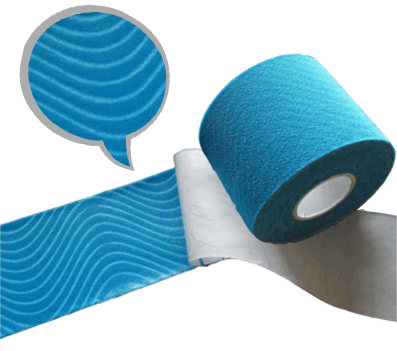 One of the things that makes kinesiology tape unique is its acrylic adhesive. As soon as you remove the paper backing and look at the sticky side of the tape, you'll know you've got something special. Instead of covering the entire surface of the tape, the adhesive is applied in a wave-like pattern that allows air and moisture to easily flow through. It is thicker and softer and much easier on the skin than the adhesive on regular athletic or medical tape. While these adhesive features are critical to the wonderful benefits of kinesiology tape, they do make the tape significantly less sticky than most other types of tape. Kinesiology tape is designed to be applied once and worn for several days. Once it has been removed, it isn't sticky enough to be reapplied. Even touching the adhesive side of the tape during application can make it less sticky as skin oils coat the surface of the adhesive. This is why it is recommended to not touch the adhesive while applying kinesiology tape. In principle, this sounds simple, but in practice, it can be a bit of a challenge. Kinesiology tape is very thin and flexible, making it a bit difficult to hold on to once the backing has been removed. Applying it on specific locations in the recommended patterns can be challenging when also attempting to touch only the fabric side of the tape. Take heart though - read the rest of this post and follow the 2 simple techniques we present and you will become an expert at how to apply kinesiology tape without touching the adhesive.
Taping Method #1 - Anchor End Application
The most common way to apply kinesiology tape is to begin at one end and continue laying down the tape until the entire strip has been applied. You may have seen videos suggesting you use your finger to peel the end of the tape off the backing and work from there, but this is impossible to do without touching the sticky side. Here is a foolproof way to do your anchor end application and never contact the adhesive with your fingers.
 |
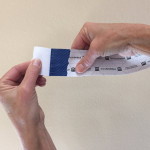
Step 1: Fold the tape to create a crease in the backing paper approximately 2 inches from the end. Then, carefully tear the paper all the way across the fold until the backing has been separated into 2 pieces. |
 |
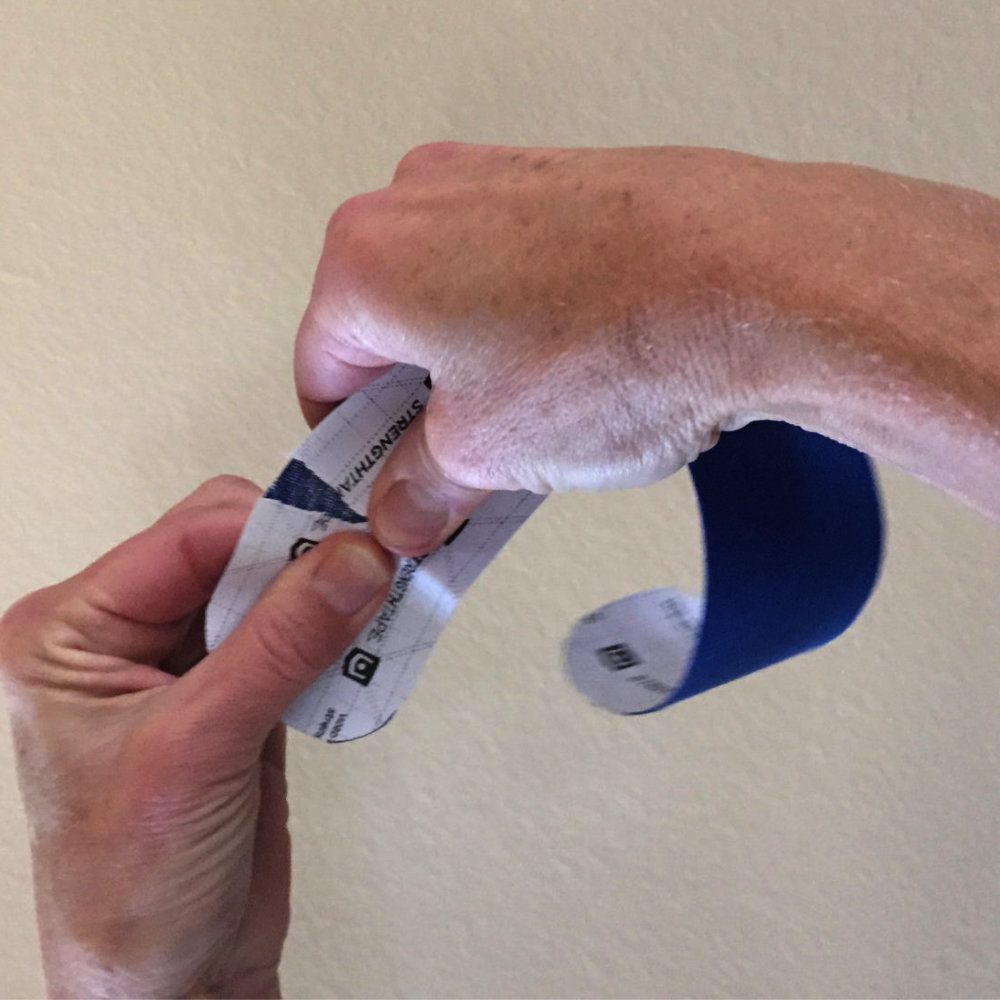
Step 2: Turn the fabric sides of the tape toward each other so the torn ends of the backing are facing up. Gently stretch the tape until the backing paper begins to pull away, then completely remove the small piece of backing from the short (anchor) end. |
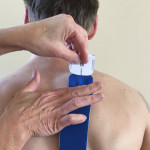 |
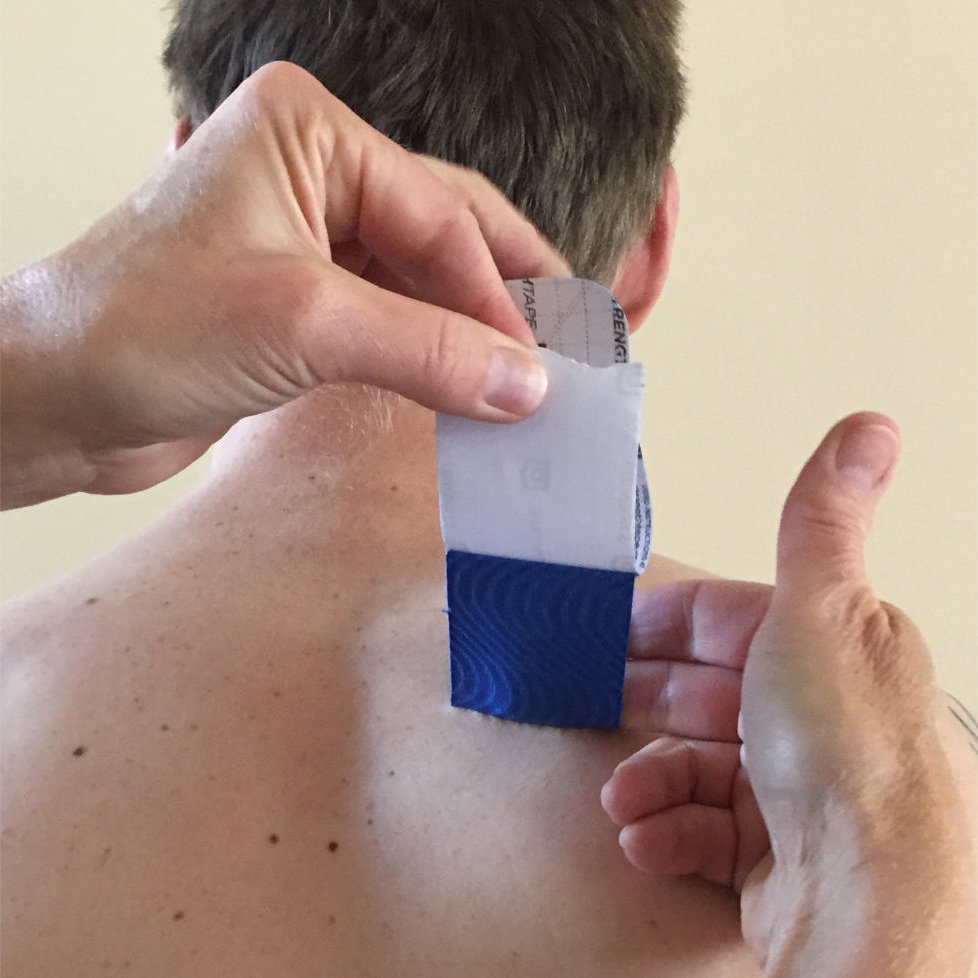
Step 3: Place the short (anchor) end of the tape over the application area and smooth onto the skin with one hand while the other hand holds the rest of the tape. |
 |
Step 4: Holding that end against the skin, stretch the tape again to release the other torn end of the backing paper. When it separates from the tape, grasp the paper with one hand and begin smoothing the tape onto the skin with the other hand. |
 |
Step 5: Continue peeling the paper away and applying the tape until the entire strip is down. Rub the tape briskly from the center toward the ends to activate the adhesive. |
|
|
Taping Method #2 - Center Stretch Application
A center stretch application is used directly over pain points or hot spots. To increase the lifting action of the tape, the center portion is stretched before being applied to the skin, then the 2 anchor ends are applied with no stretch. This application is usually done with shorter strips of tape, approximately 6" - 8" long. This might sound complicated, but following the simple steps below will have you applying this tape as easily as peeling a banana!
 |
Step 1: Fold the tape in half with the fabric sides facing in. Press along the fold to create a crease in the backing paper, then carefully tear the paper all the way across the fold until the backing has been completely separated. |
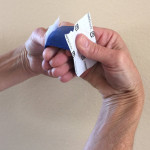 |
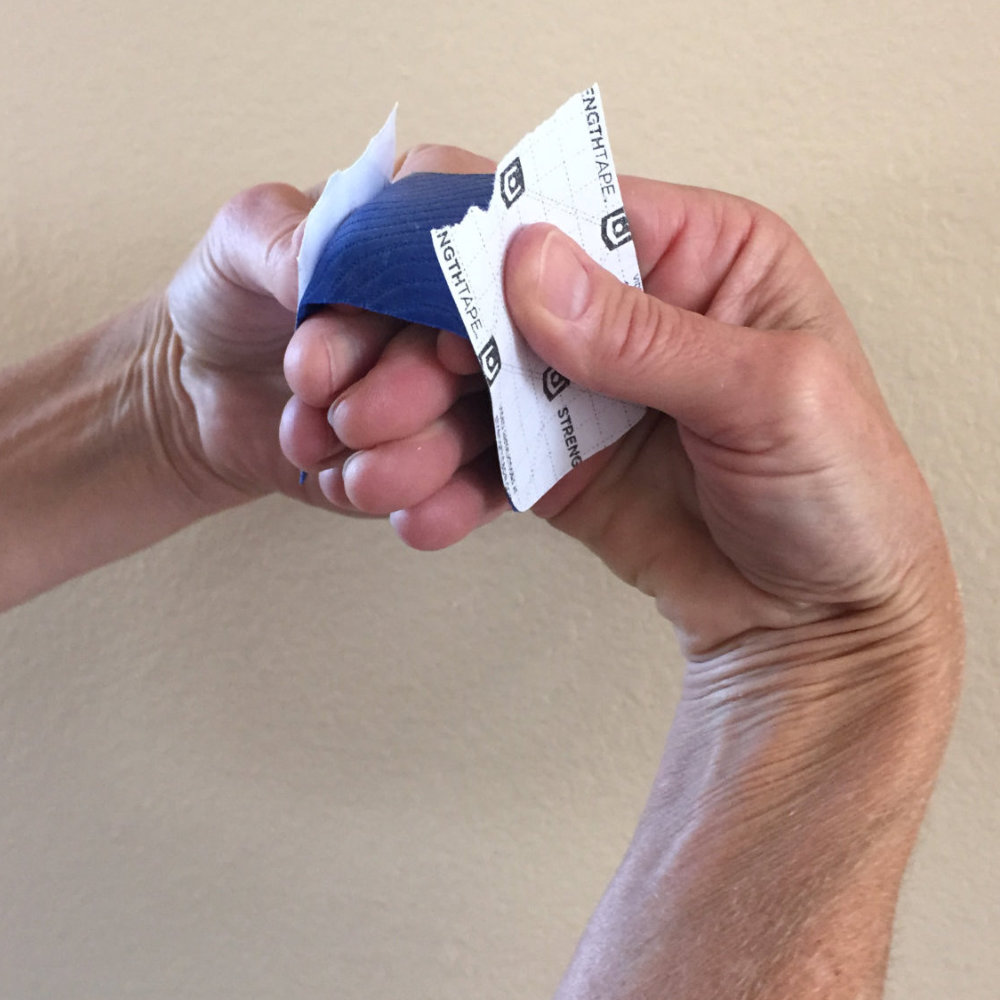
Step 2: Turn the fabric sides of the tape toward each other so the torn ends of the backing are facing up. With your fingers on the fabric side and your thumbs on the paper side, gently stretch the tape until the backing paper pops up on both sides. |
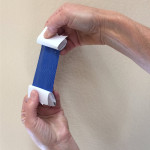 |
Step 3: Grasp the torn ends of the paper and peel them back to expose the center of the tape. When approximately 2" is left at each end, pull gently to lightly stretch the tape. |
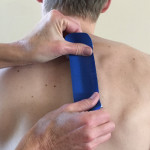 |
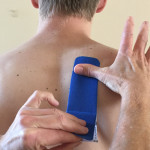
Step 4: Maintaining the stretch, apply the exposed part of the tape directly over the most painful area. To prevent skin irritation, be sure to apply the final 2" at each end with zero stretch. Rub the tape briskly from the center toward the ends to activate the adhesive. |
Final Notes
For the longest lasting applications, in addition to applying the tape without touching the adhesive, it is important to prepare the skin properly. Theratape, the Kinesiology Tape Experts have covered that and more in Tips for Applying and Removing Kinesiology Tape. Feel free to print it and keep it on hand so you too will become a "kinesiology taping expert!"